 |
| enhanced productivity, or distraction. The choice is yours. |
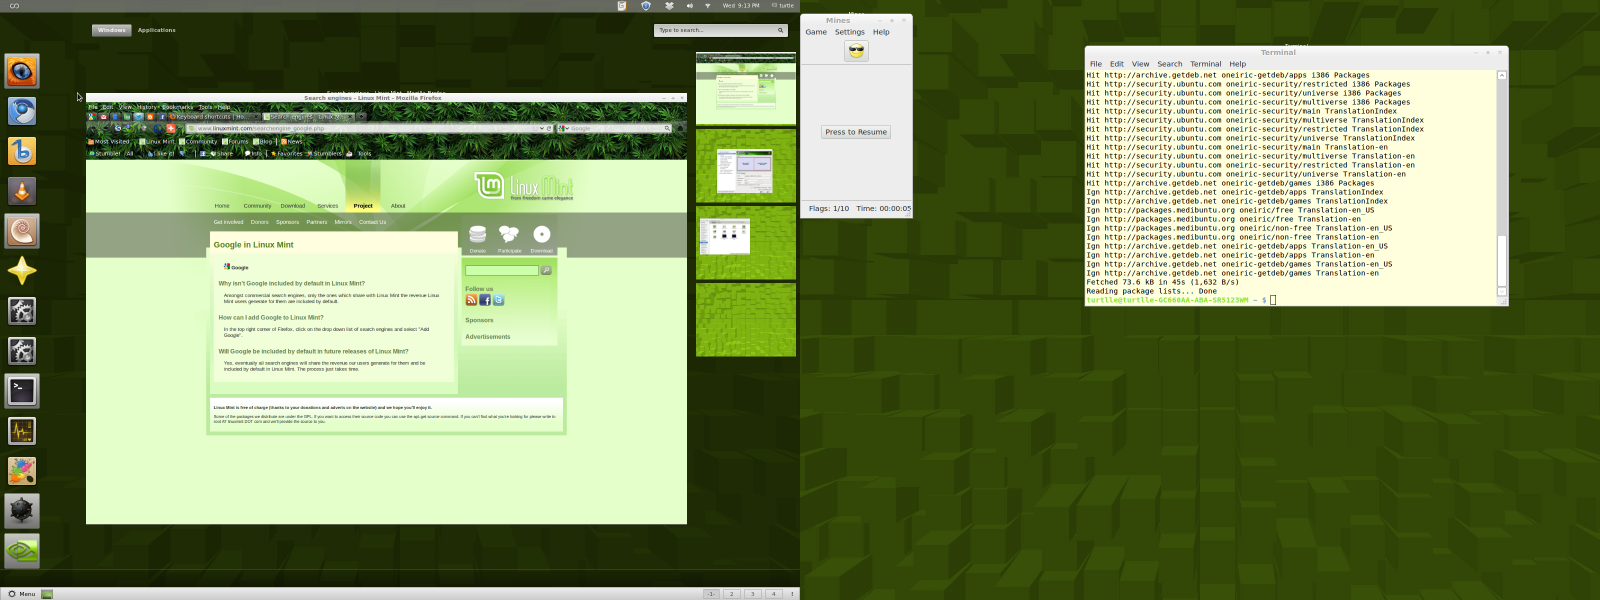
Like for example when I tried to play the incredible game ZAZ”Zaz aint zaz” full-screen, it tried to take up both monitors. Although this is one of the funest games I have played in a long time. In theory you should be able to play your favorite game, in one window while browsing or chatting in another. But your mileage may seriously vary.
I often use Fire-fox in one window, and chrome in another. Or you may need to have a file browser open on one window, and a web-browser handy in another.
So here is how it is done.
STEP ONE: Install your most video drivers.
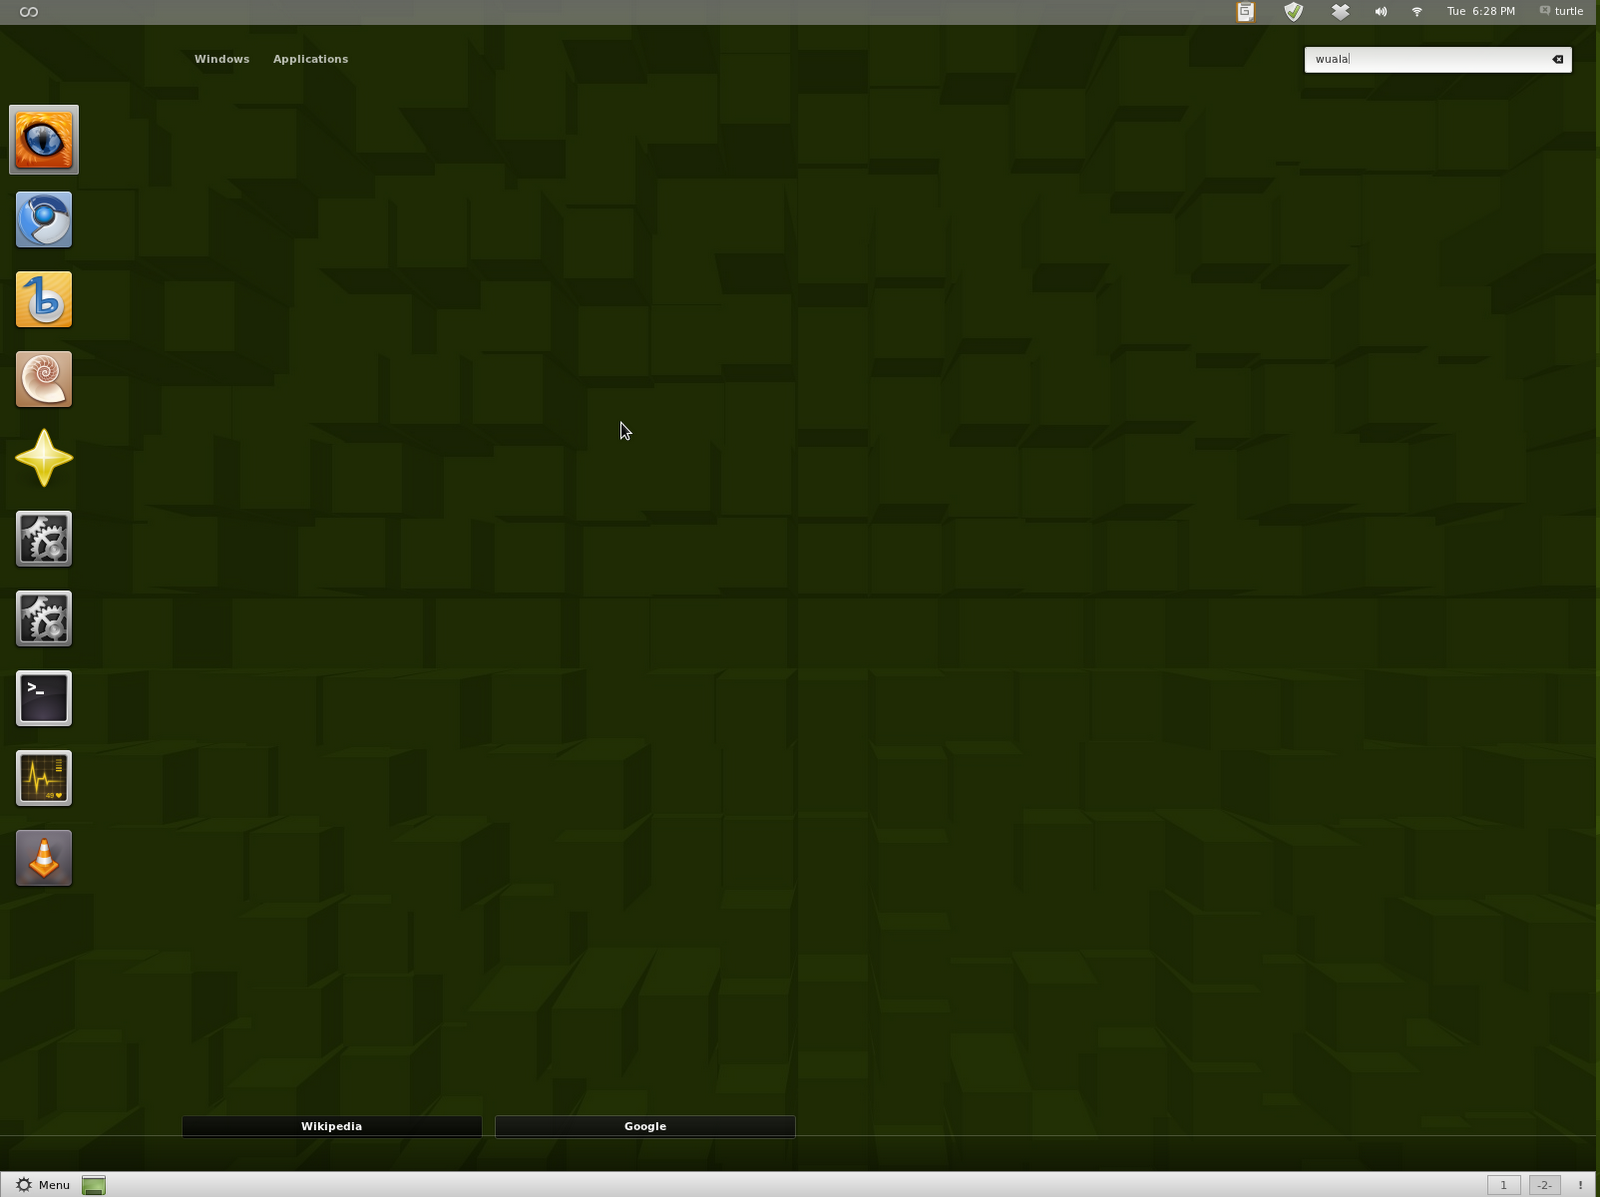
type: “super key”
type: “additional”
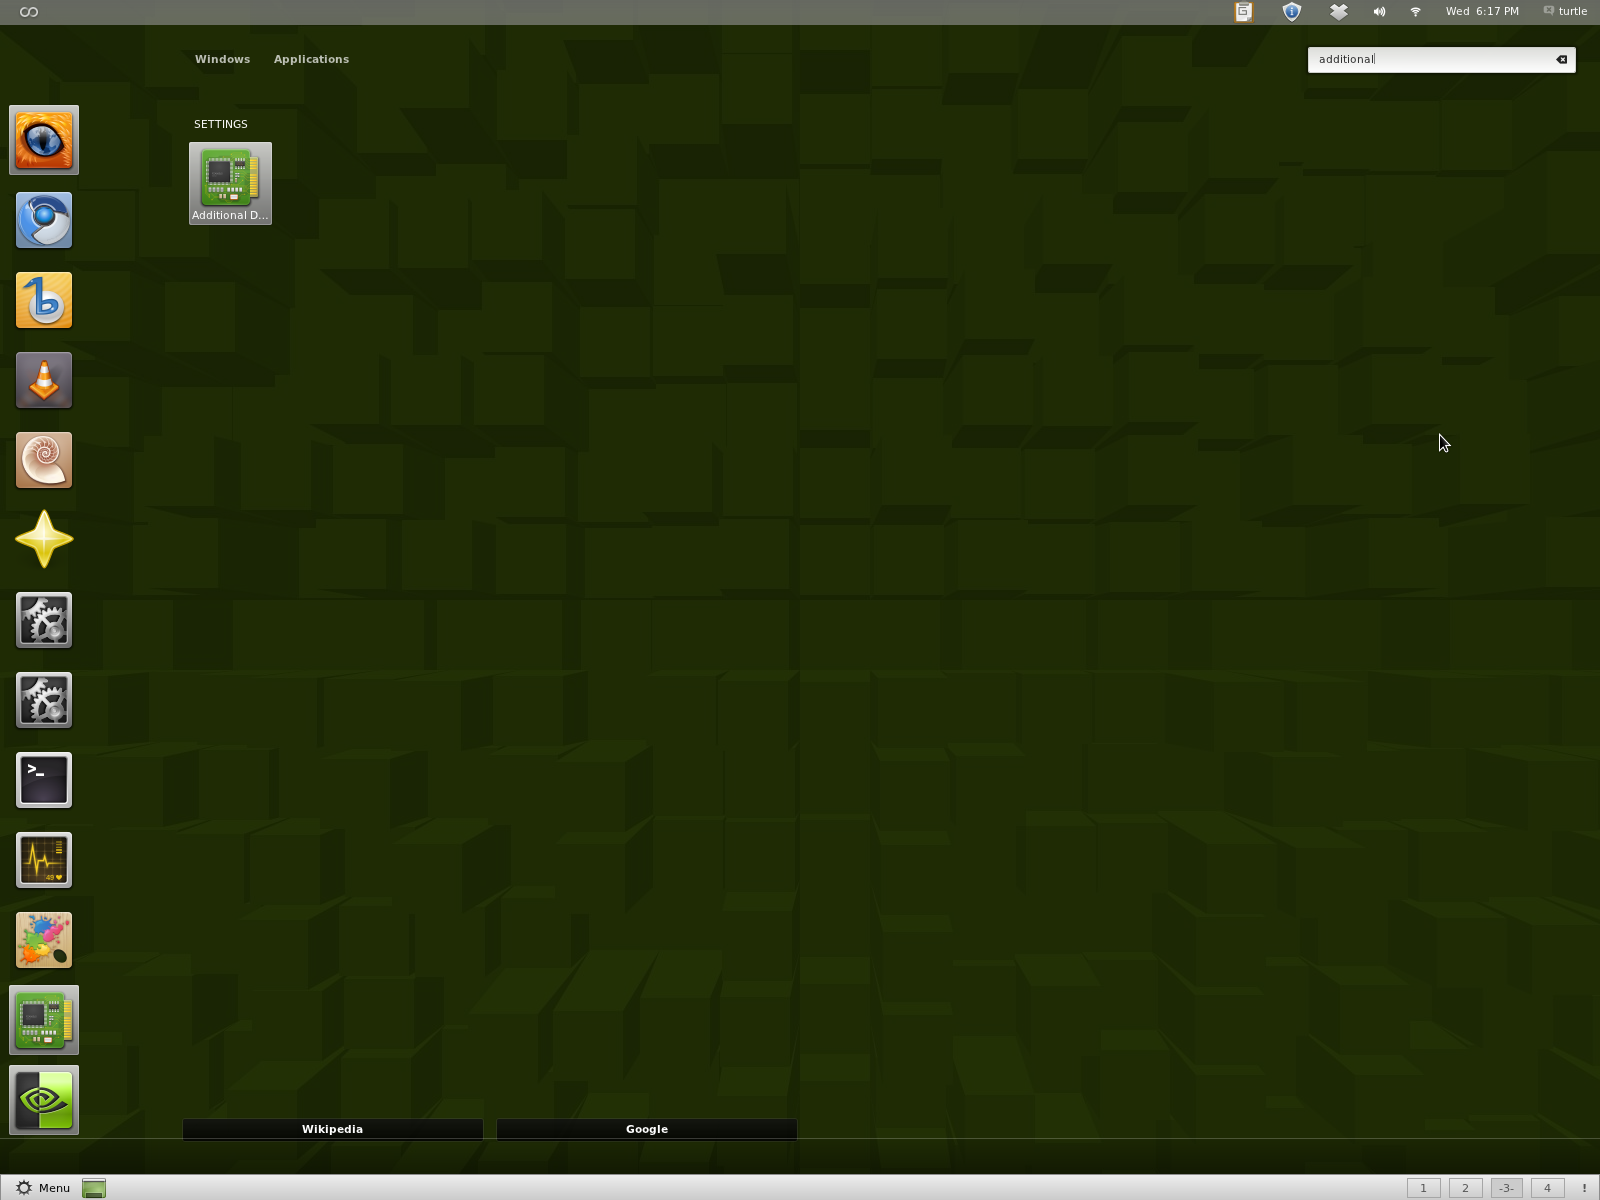 |
| hit the enter key to open the additional drivers program. |
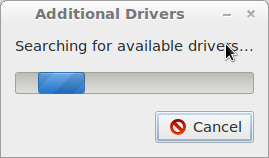 |
| This will box will show up briefly, while your hardware is being checked. |
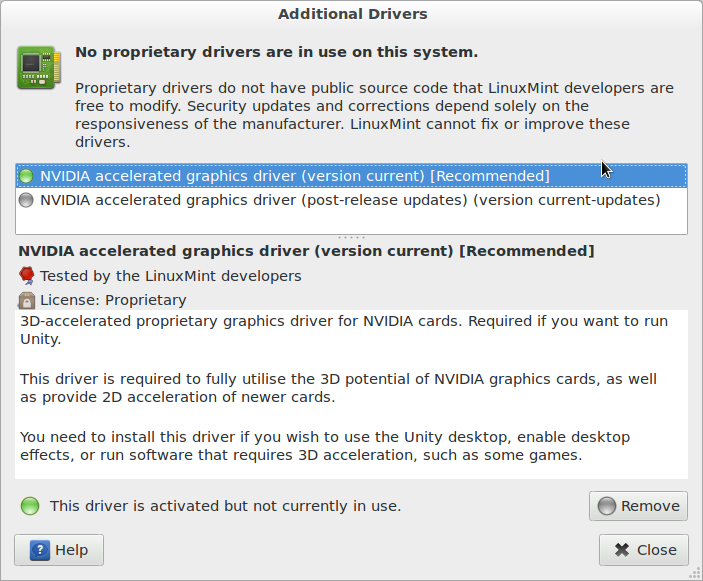 |
In this screen-shot I had already highlighted the recommended driver, and clicked activate. After which you will be prompted to enter your password, provided you are an administrator.
After you have entered your password, the installation of the Nvidia drivers will happen. The reason my screen-shot says it is not currently in use, is you will need to reboot after the installation is complete.
STEP TWO: Configure the Nvidia X server.
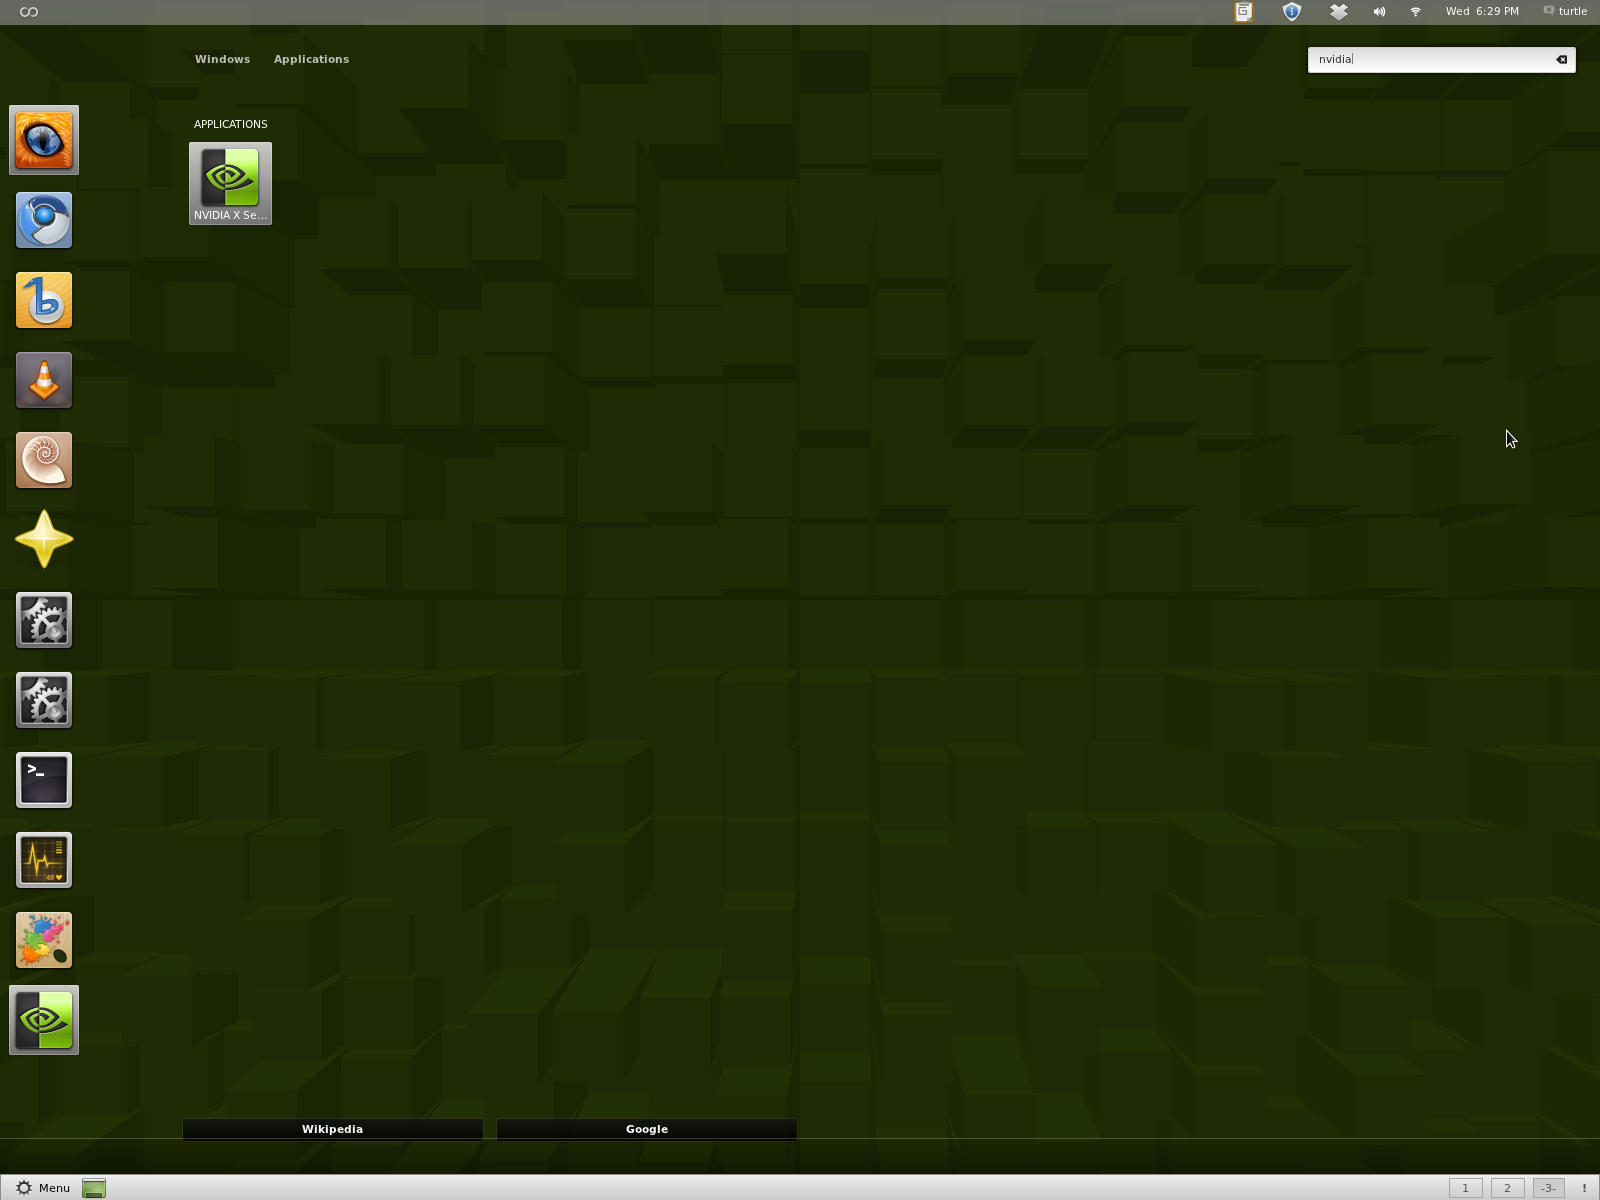
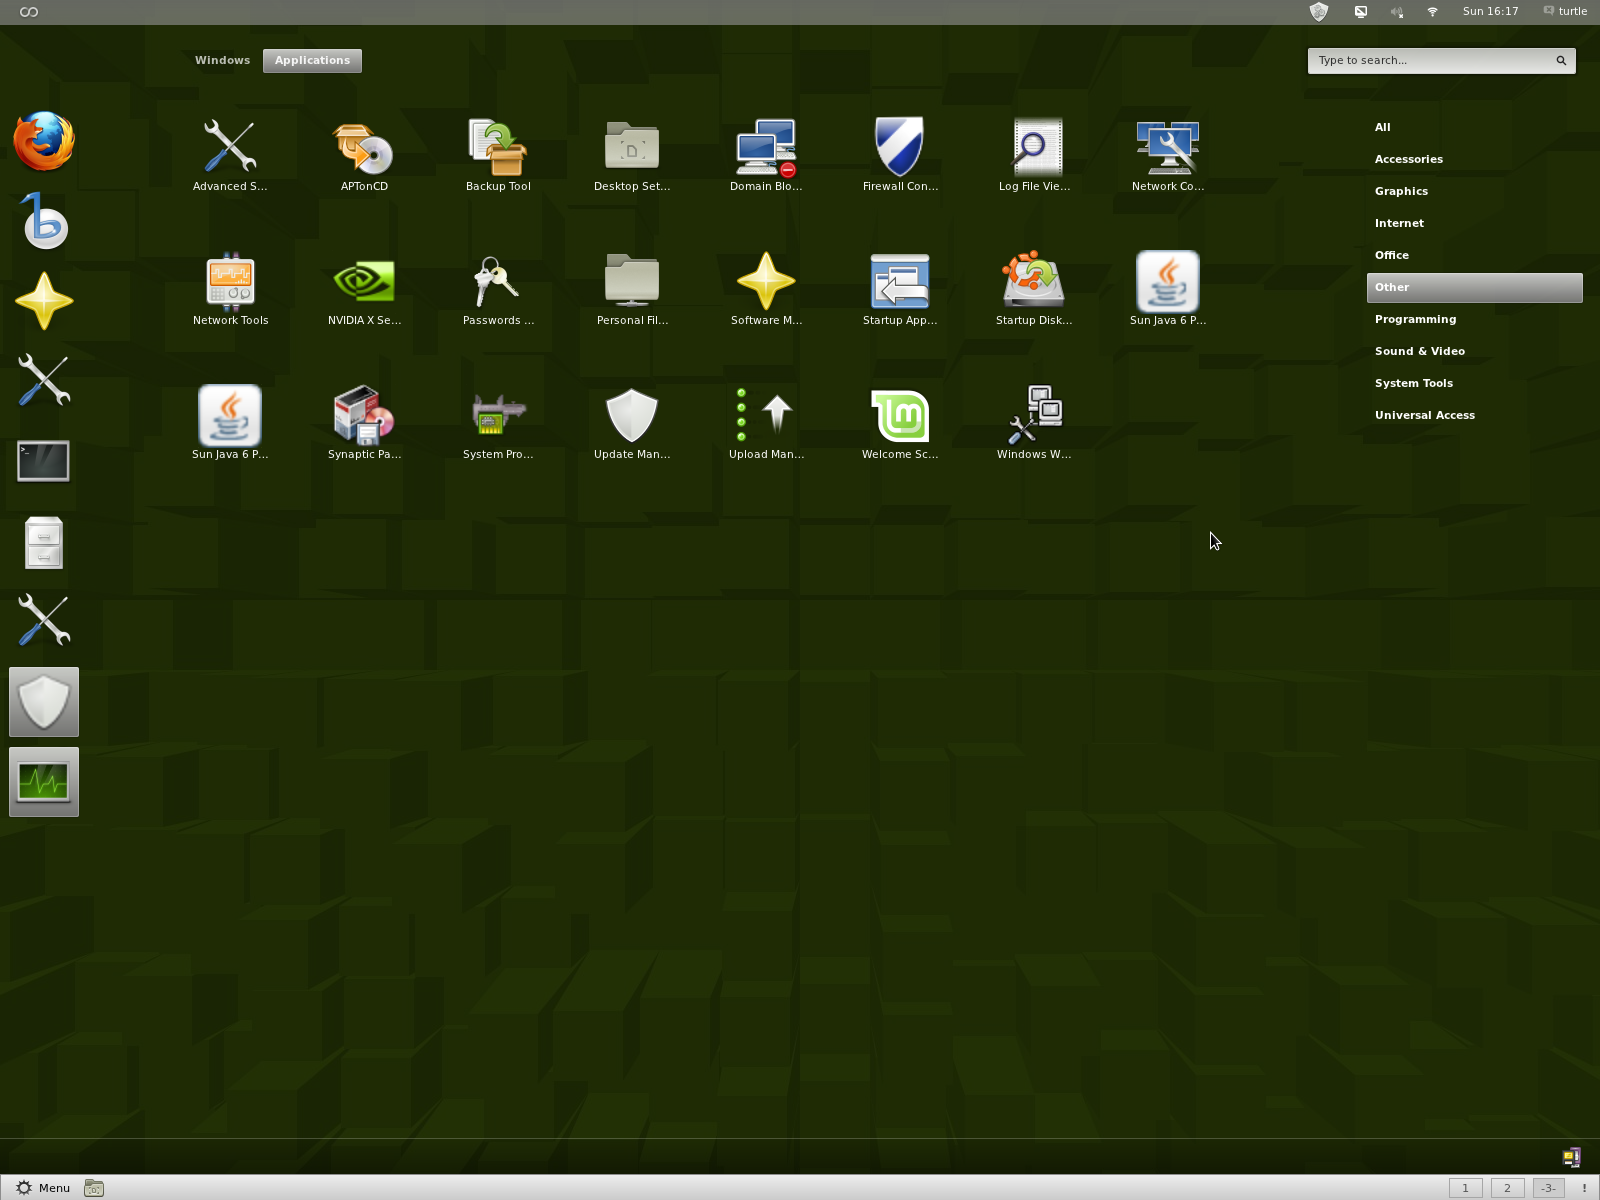
Do a search for the word “nvidia”, just like you did with additional. Then strike enter to open the Nvidia X server configuration tool.
 |
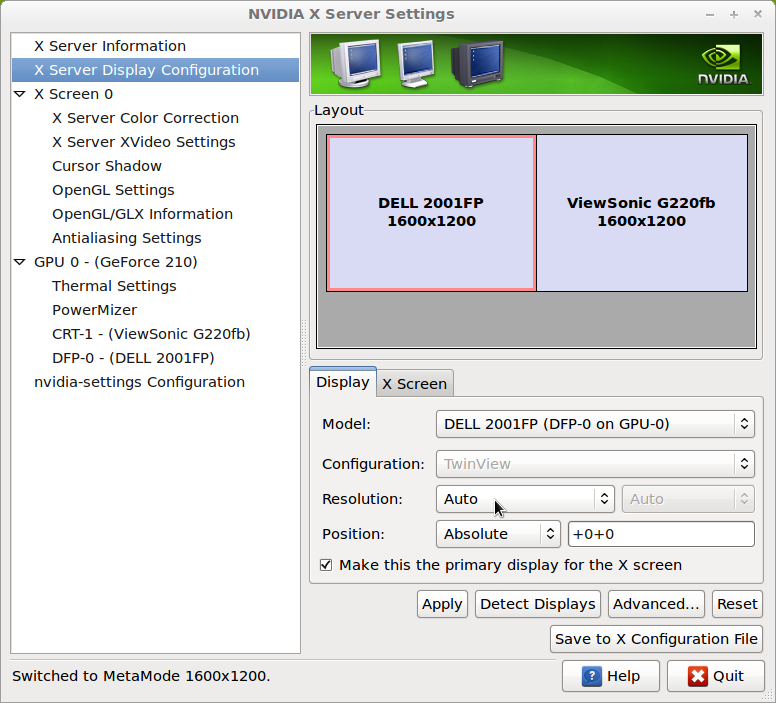
| In the Left hand box make sure to check the “server Display configuration option”. |
You may or may not see your secondary monitor in the layout box, like mine does. When I first opened up this box, there was only my Dell monitor showing. I had to Left-click/HOLD the monitor icon, and drag it from on top of my other monitor until they were directly side by side.
Notice the Monitor icon on the Left is highlighted, showing that it is selected. Notice that the selected monitor, is the same as the controls in the Display box.
In the resolution drop-down menu, you will need to set the resolution to auto. Also you will want to choose the monitor on the right to have the “Make this the primary display for the X screen” checked.
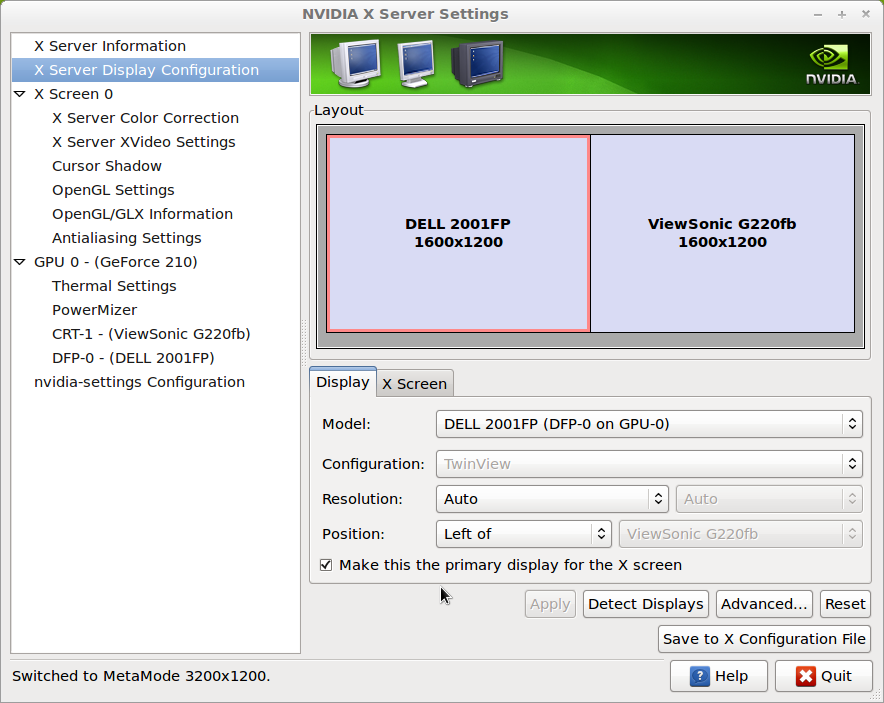
You may wish to choose the position of the main monitor, to the position “Left of” as the screen-shot below shows.
 |
| After you click apply you have 15 seconds to hit the OK button to keep the settings. |
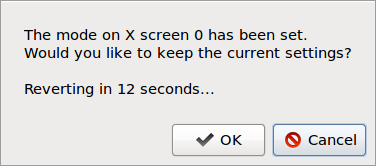 |
| Notice Cancel is highlighted. Press enter to cancel emmediately. Press Left, then Enter to keep settings. |
You could even choose to have your monitors in a stacked array if you wish, although that would be confusing if your monitors are not physically stacked.
There is one final thing that you must do, in order to make your changes permanent. You must click “Save to X configuration file.”
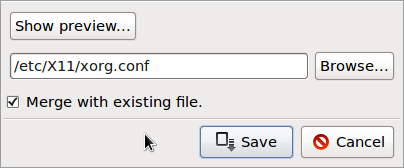
After you select save, you will be prompted to enter your password. This is due to the fact that you are changing a system configuration file. Any changes to configuration files, must be done by an administrator. Once you have done that your configuration will be permanent.
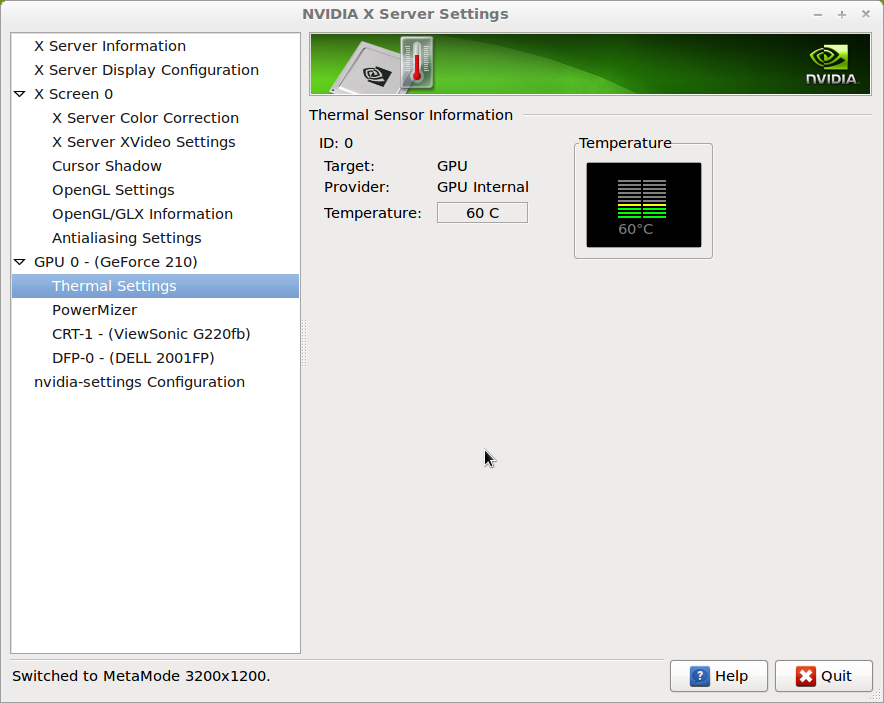
PRO-tip: If you want to know the current operating temperature of your GPU(GFX Processing Unit), you may click on “Thermal Settings”. Although that is a bit misleading, because there is nothing to set, only a chart of your current temperature as shown below.
Once this is done you will be able to move the cursor freely from one display to another. You could drag a running program to your secondary monitor, for ease of reference if you wish.
With these simple instructions you can easily double your productivity. Good luck to all of you curious geeks out there. Although don’t blame me if your games don’t work perfectly in dual-screen mode.

